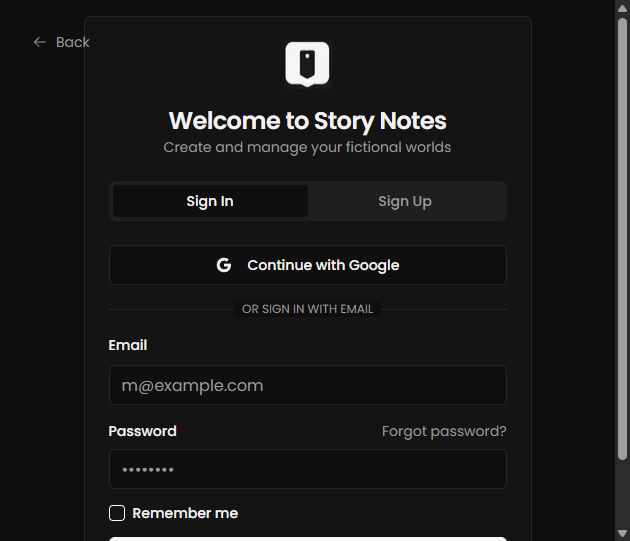
Step 1: Create your account
- Go to app.storynotes.io and create an account.
- Sign in with Google or email/password.
- Verify your email if prompted.
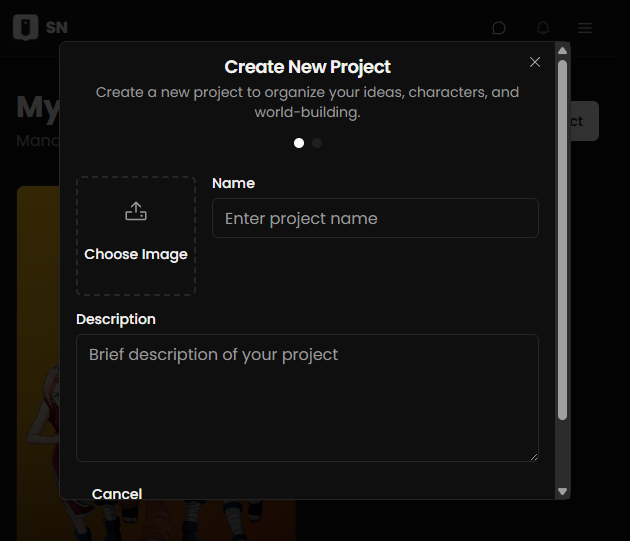
Step 2: Create your first project
- Click New Project.
- Add a project name and short description.
- Save to enter your project workspace.
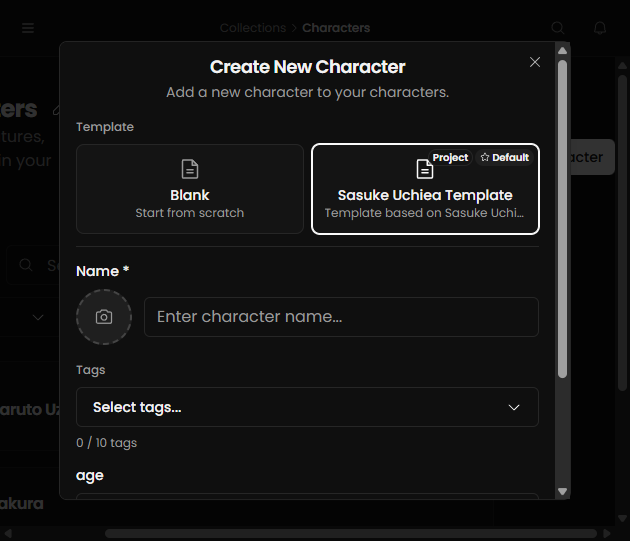
Step 3: Add entities
Entities are the building blocks of your world, like characters, locations, events, and items.
- Open a collection (or create one).
- Click New Entity.
- Fill core fields, then save.
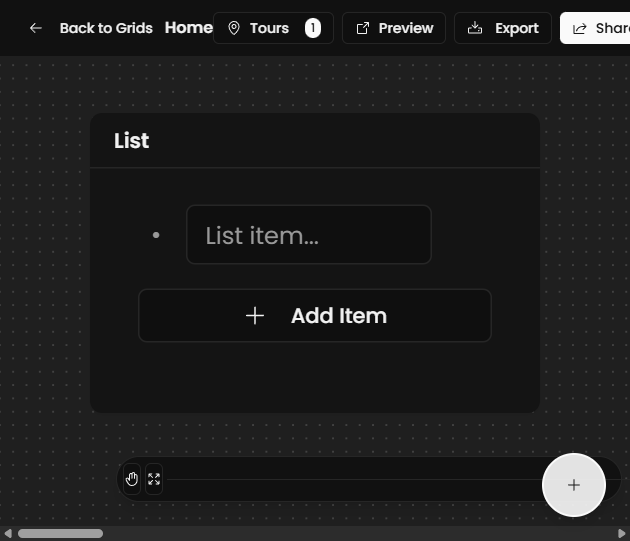
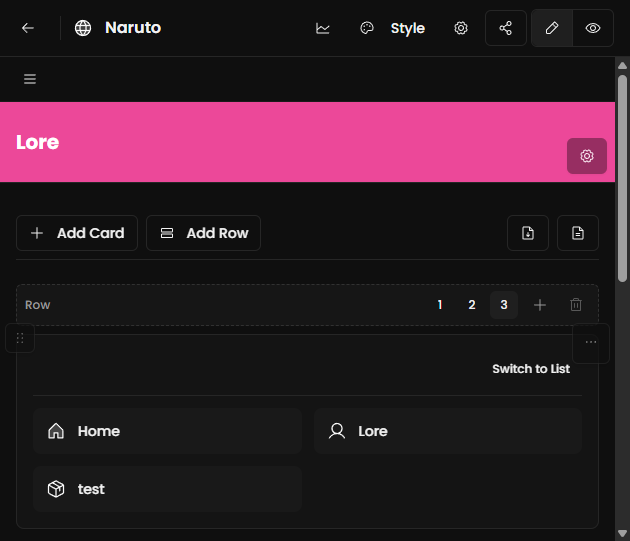
Step 4: Build on the canvas
- Open Grids and enter a board.
- Add cards, move them, and connect related ideas.
- Use zoom and mini-map to navigate larger boards.
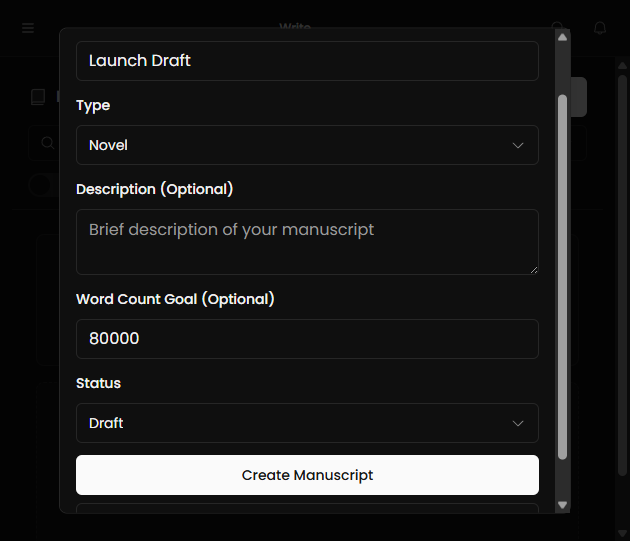
Step 5: Start writing
- Create a manuscript and add chapters.
- Use rich text formatting for structure.
- Use mentions to link story text to entities.
Step 6: Publish your site
- Open the Site section.
- Choose a theme and review navigation.
- Publish and copy your public link.

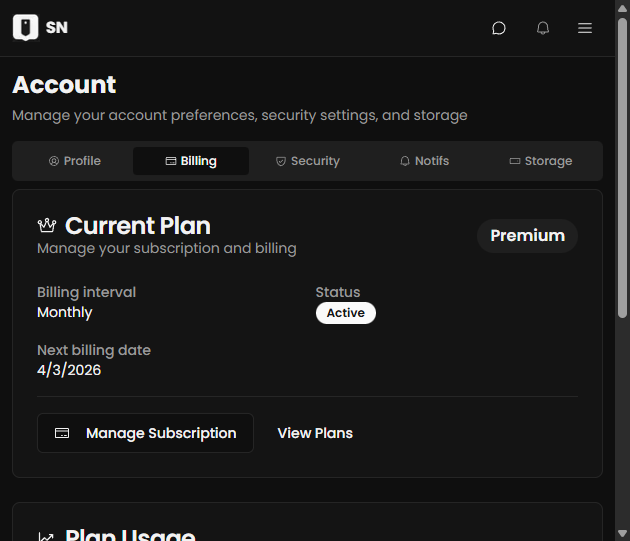
Step 7: Review plan and billing
- Open billing/settings.
- Confirm your current tier and usage limits.
- Upgrade if you need more storage, exports, or sites.
Next steps
- Read the Publishing guide for launch setup.
- Review Billing & Plan Limits before sharing widely.
- Check Troubleshooting for common fixes.